
This is one of those posts that’s been sitting on the backburner for a while now, and it wasn’t until I was creating my fifth filter that it hit me to go ahead to show y’all how I create them. For those of you who don’t know, Snapchat is one of the fastest growing social media apps. It allows users to share videos, pictures and messages with people that disappear either instantly (media/messages that directly sent to someone) or after 24 hours (media shared to their “story”). Like Instagram and Facebook, it’s a way to share a glimpse of your day with friends and followers, but unlike them it’s often a raw and non-glamorized glimpse. Pictures and videos are typically shared instantly, and until recently you couldn’t share media from your library. That changed recently, but even then it shows up with a border around it letting your followers know that it was shared from your camera roll and just how old the picture or video is.
One of the best things about Snapchat is the filters. And I’m not just talking about the ones that make you look pretty, the ones that add dog ears or leopard ears to your face and change your voice. I’m talking about the geofilters. You know, the ones that not only show what city you’re in but they might even show what event you’re at. These are super popular for games, celebratory events like weddings, holidays and even parties! I personally love using them when I travel, because in a way it’s like getting a digital passport stamp.
From what I’ve heard it’s pretty difficult to get a community geofilter approved for a whole city or town, but it’s super easy to get an on-demand one approved for an event, which is exactly what I’ve been doing since last summer. It started with doing one for some friends’ birthday party in Dallas and from there I’ve either volunteered or asked to create one for each big event that I’ve been to. I’ve even done a few for some events we’ve had here on campus for our tenants.
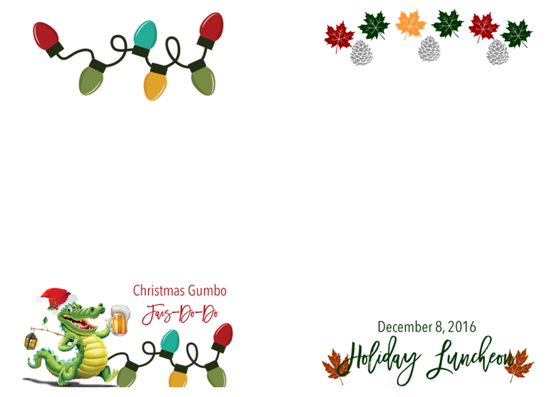
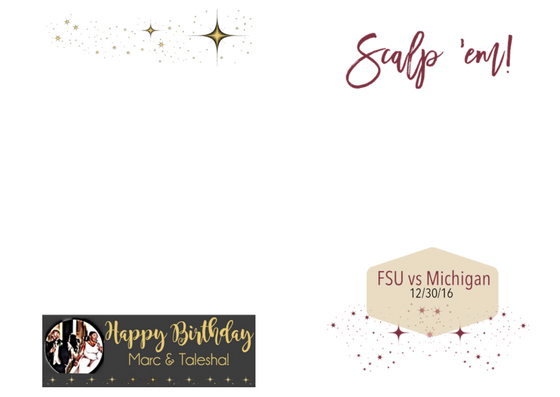
Like I said, these are super easy to create. In fact, I’d say the hardest part is picking out a design yourself. You can create one from scratch (which is what I’ve been doing) or you can use the stock ones they have.
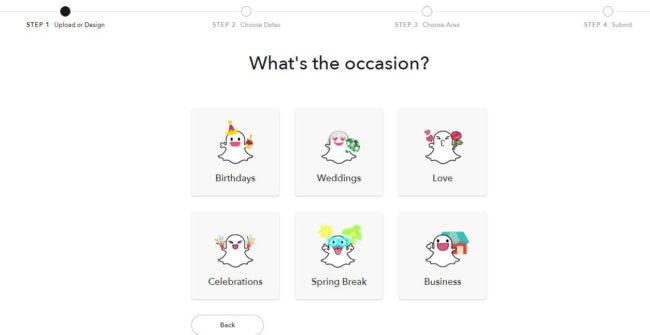
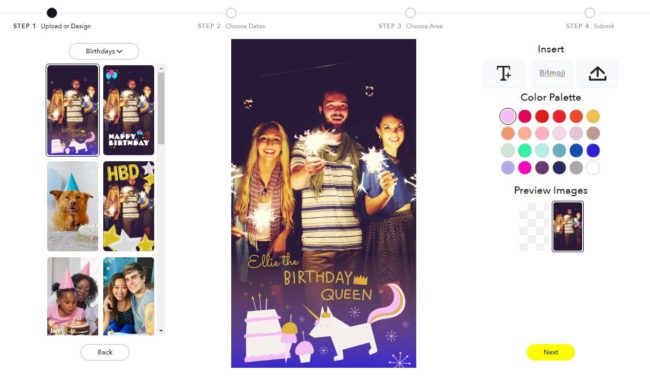
You can pick an event type and go through the stock options they have, customizing the text and even colors! It’s super easy and can be done in a matter of minutes. I know people who have done this and they preferred it over creating a completely new one because it takes the guess work out of things. The filter will automatically be in compliance as far as size, border placement and graphic image content.
Like I said, I’ve created all of mine from scratch and I’ve used both Photoshop and PicMonkey if I’m not on my personal computer (shout out to Dropbox). It was pretty easy to find Snapchat’s submission guidelines and for the most part their rules are fairly easy to follow:
- No logos or trademarked images
- No photographs of people (but caricatures are okay, I’ve used those)
- No hashtags, email address, URLS or phone numbers
- No illegal content (drugs)
Super straight forward! I customized my dimensions (1080px wide by 1920px high) and made sure that my image was transparent. I found that it was easier to work with a white background while I was designing and then change it to transparent before I saved the image. I personally love using PicMonkey because I can still use my own fonts, it has a lot of free elements like shapes, stars, etc and its super easy to import in other elements too.
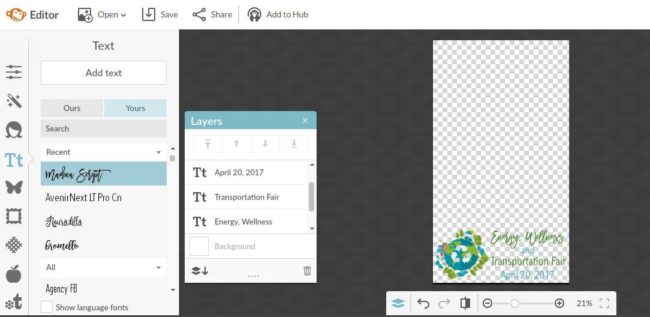
Just remember to save it as a PNG and then comes the fun part.
You’ll have to head to Snapchat’s website, and from there you’ll be able to upload your design, set a location and pay for your filter. In my experience they’re fairly cheap, like $5-$8 for like 6 hours. The event we’re having at work will only be two, but I wanted to make sure my filter would run a little while longer.
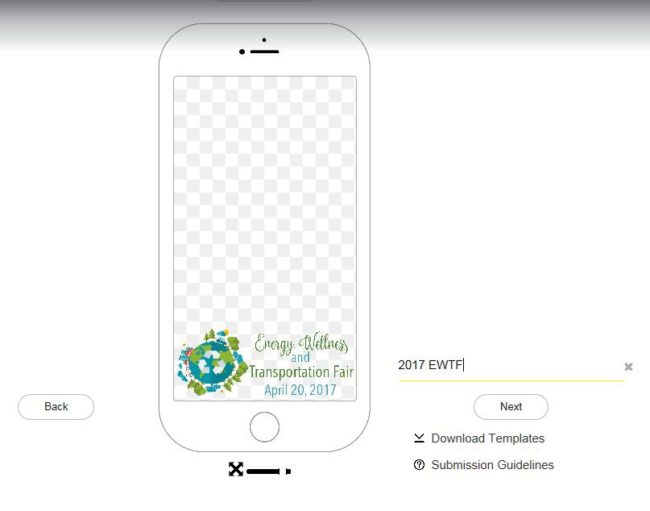
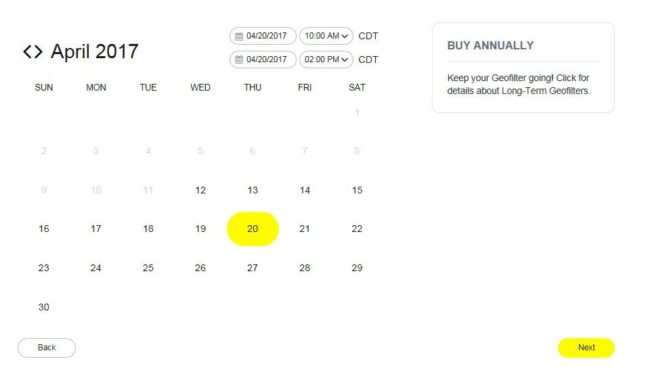
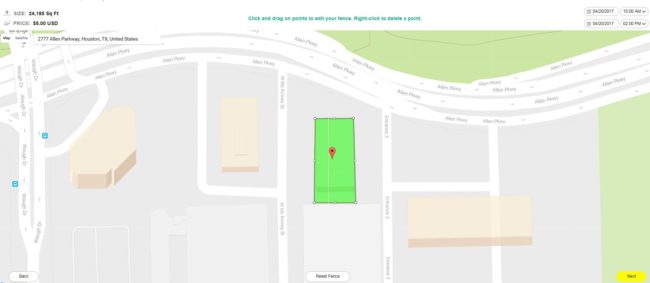
Then it’s time to wait for the approval. Those can take anywhere from a few hours to a few days. I typically get my submission confirmation email and approval email within a few hours of submitting the on-demand filters and my card isn’t charged until the day of.
Like I said, easy peasy! They even have metrics available if you want to see how well your filter performed, perfect for those who like to keep track of that kind of stuff. Feel free to comment below or tweet me if you have any questions, and let me know if this helped you!